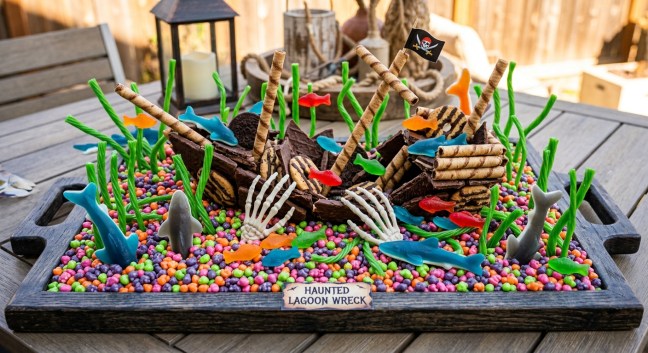
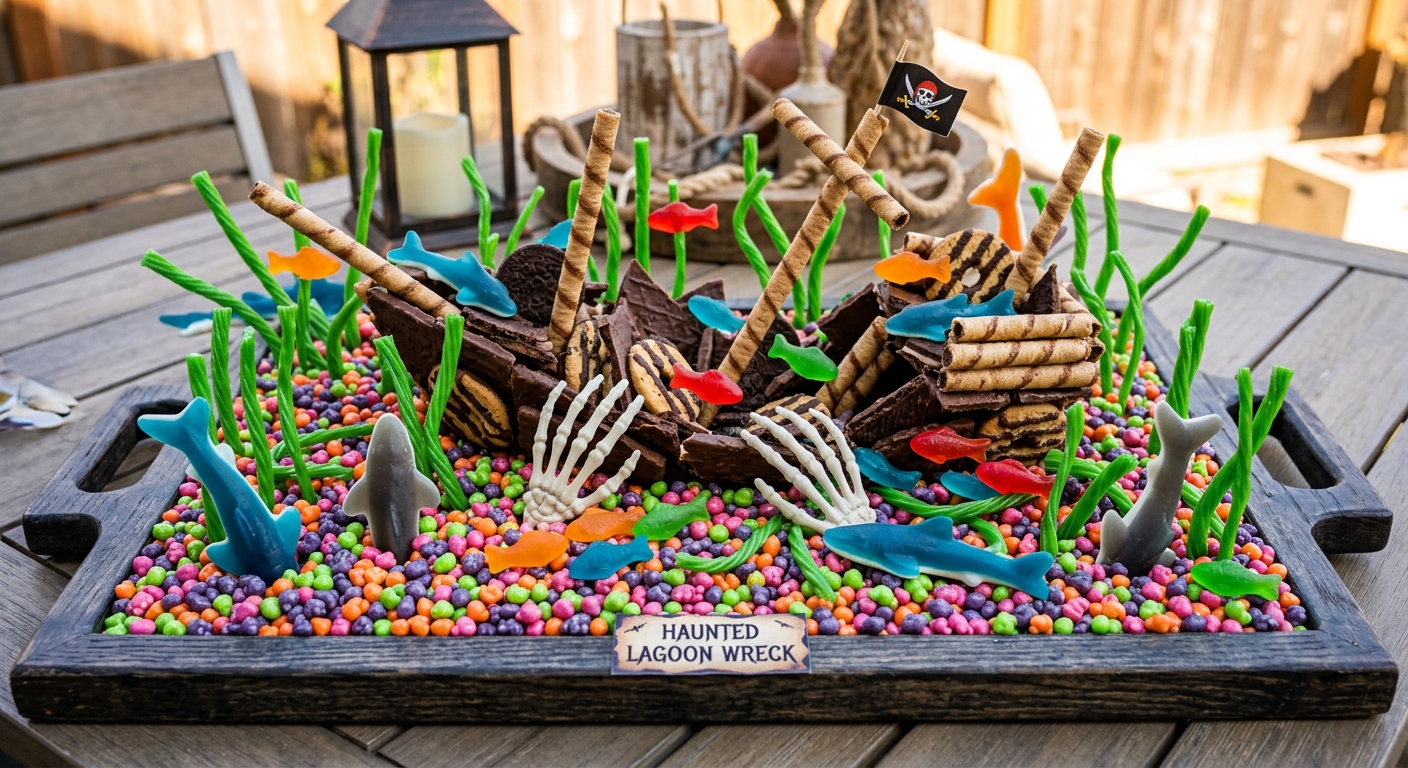
Save this DIY Halloween candy display idea for your next party! 🦈⚓️
Turn standard movie night treats into an epic Haunted Lagoon Shipwreck Candy Tray! Built with a crunchy Nerds candy ocean floor, chocolate wafer “wreckage,” pretzel masts, Twizzlers seaweed fronds, and swarming gummy sharks.
It’s completely room-temperature safe—making it the ultimate moisture-proof, patio-friendly centerpiece for outdoor Halloween parties, spooky pirate themes, or haunted luau tables.
Ingredients & Details:
- Base: Nerds Candy “Sea Floor”
- Ship Structure: Chocolate Wafers, Pirouline sticks, Pretzel Rods & Melted Chocolate
- Sea Life & Kelp: Gummy Sharks, Gummy Fish & Green/Black Licorice Twists
- Decor: Skeleton hands & mini skulls
Instructions (with help from Gemini):
Phase 1: Gathering Supplies
Structural Elements (for the Ship):
- Walls & Deck: 3–4 packs of thin, rectangular chocolate wafer cookies (like Nabisco Famous Chocolate Wafers or Keebler Fudge Stripes, though rectangular is easier). Tip: The darker and more textured, the better.
- Masts: 1 pack of thick, chocolate-covered pretzel rods.
- “Glue”: 1 bag of semi-sweet chocolate chips or dark chocolate candy melts.
Terrain & Seabed:
- Ocean Floor: 3–5 large boxes/bags of assorted Nerds candy (the rainbow mix provides the best “gravel” look).
- The Container: A wide, flat serving tray (like the wooden one in the image), a low crate, or a shallow galvanized tub.
Marine Life & Seaweed:
- Gummy Sharks (large and small).
- Gummy Fish (Swedish Fish work well).
- Green or black licorice twists/vines (for seaweed).
- Sour belt candy strips (for kelp).
Spooky Decor (Optional):
- Plastic skeletons/skeleton hands (washed thoroughly).
- Mini plastic skulls.
- Miniature treasure chest with chocolate coins.
Phase 2: Construction (Build Time: ~30-45 mins)
We recommend assembling the ship on a piece of parchment paper first, before moving it to the main tray.
Step 1: Create your “Melted Chocolate Glue”
Melt your chocolate chips or candy melts in a microwave-safe bowl in 30-second bursts, stirring in between, until smooth. Transfer this to a sturdy Ziploc bag and snip a small corner off—this will be your piping bag.
Step 2: Build the Foundation (The Hull)
Lay down two wafer cookies side-by-side. Pipe a thick line of melted chocolate along the bottom edges of more wafer cookies and stand them upright around the perimeter of the base, creating a rectangular “box” shape. Let this set for 5–10 minutes in the fridge until the chocolate is hard.
Step 3: Create the “Wreckage” Appearance
Once the basic box is stable, it’s time to break it. This is a shipwreck, not a new vessel!
- Take a few more wafers and snap them into jagged, broken shards and planks.
- Use your chocolate “glue” to affix these jagged shards to the outside of the main box structure, making it look like the hull is splintered and broken.
- Leaning some long, unbroken wafers against the sides to create the appearance of collapsed decking.
Step 4: Erect the Masts
Dip the bottom end of 2–3 pretzel rods into the melted chocolate. Gently press them onto the floor of your wafer-cookie “box” structure, holding them in place for a minute until they are stable enough to stand on their own.
Step 5: Add the “Rope Rigging” (Licorice)
While the mast chocolate is still setting, take your licorice twists (the “seaweed”). Drape them over the pretzel masts and down over the wafer walls, securing them in a few places with tiny dabs of melted chocolate glue.
Phase 3: Final Assembly & Presentation
Step 6: Fill the Tray
Place your fully dried and stable chocolate ship structure into the center of your large display tray.
Step 7: “Flood” the Ocean Floor
Pour your massive quantity of Nerds candy directly into the tray, spreading them out until they completely cover the bottom and pile up against the sides of the shipwreck, hiding its base. Make some areas deeper and some shallower to simulate a natural seabed.
Step 8: Populating the Reef
- Embed the Wildlife: Take your gummy sharks and push them tail-first into the piles of Nerds so they look like they are swimming upward toward the surface. Place some in the open sections of the shipwreck hull. Scatter gummy fish and Swedish Fish over the Nerds “gravel” bed.
- Plant the Kelp: Tuck small clusters of green licorice vines or sour belts into the Nerds gravel so they look like seaweed beds rising from the floor.
Step 9: Add the Halloween Horror
Tuck your (washed) plastic skeleton hands, skulls, or a miniature treasure chest into the Nerds seabed and the shipwreck itself.
Final Step: The Sign
To match the “museum exhibit” feel of our image, create a small cardboard or wooden plaque that says “SHIPWRECK REEF! DO NOT FEED THE SHARKS.” and set it at the front of the tray.
- Tip: Provide mini-tongs or small scoops so guests don’t have to reach their hands directly into the shared “ocean.”
 GiggleFishCreations